
This project was sent in by Z88.3 Mornings with Ellis, Tyler and Tracy.
Materials needed: 5 sheets of cardstock, scissors, gluestick, tape, x-acto knife or razor blade
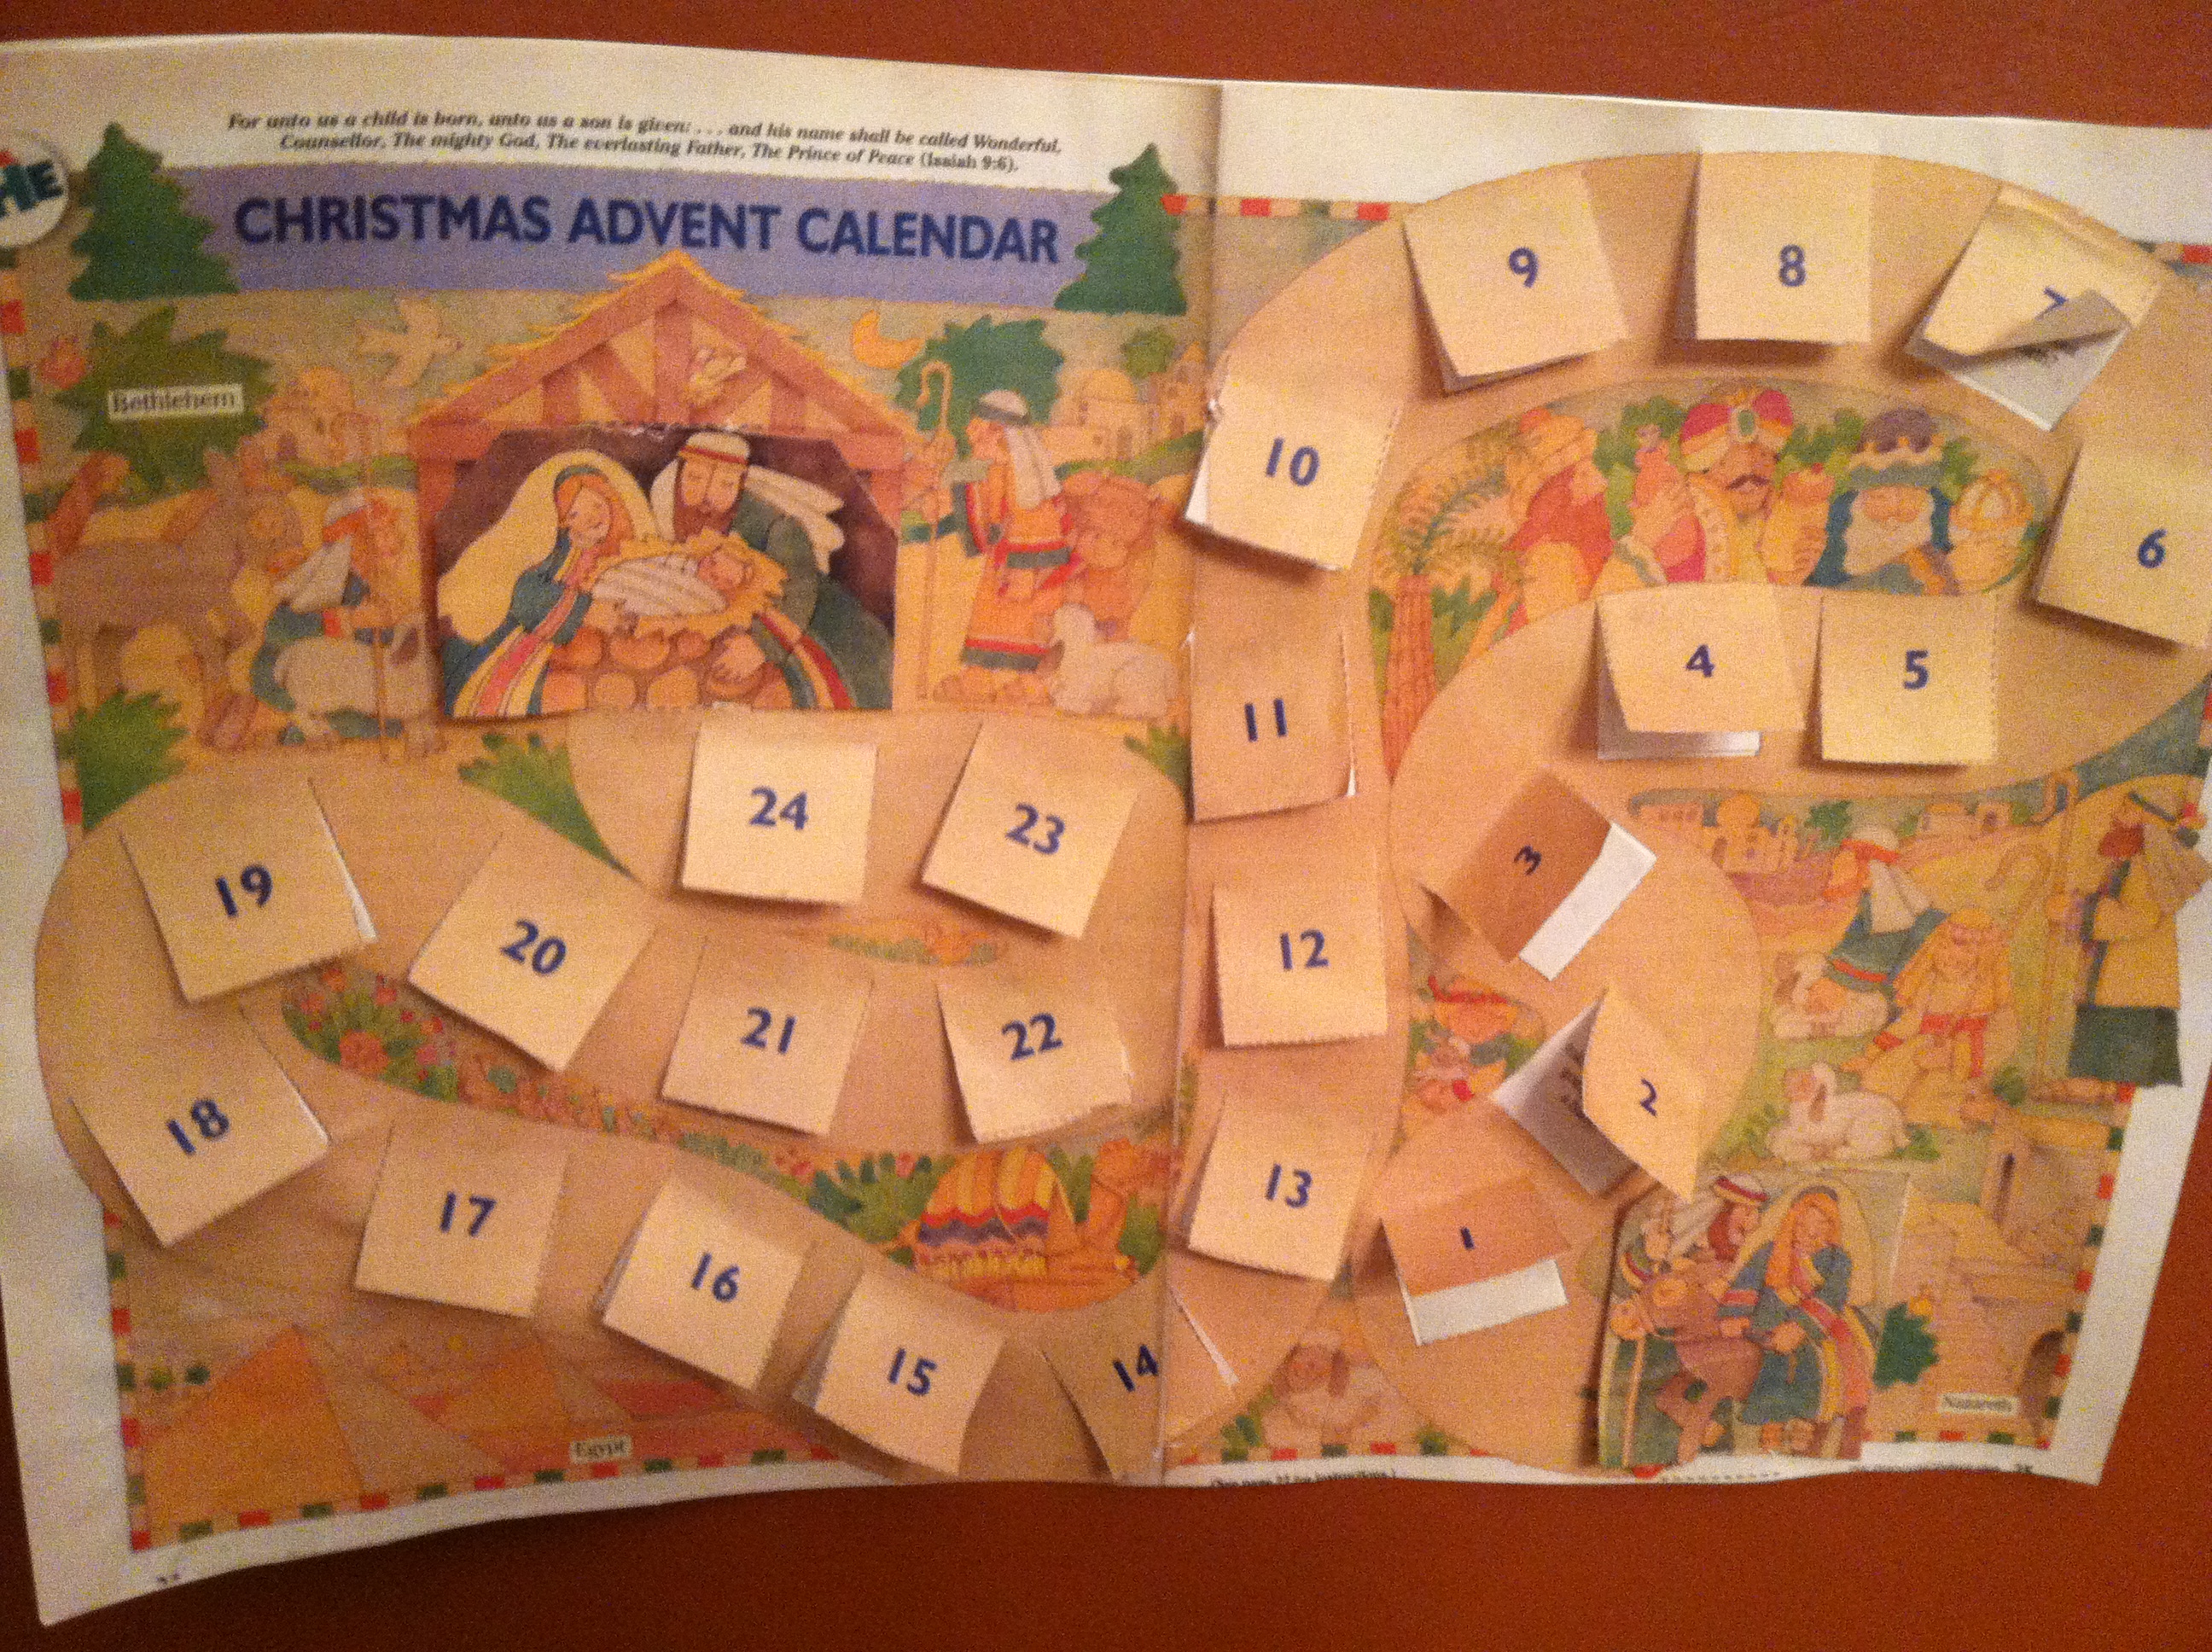
1. Trim edges of advent calendar, making sure that both sides match up together. It is helpful if you leave a little edge on one side of the centers, so that you have a ledge to match up on the other side.
2. Line up the advent calendar (trimming if necessary) and place two small pieces of tape on the front. Turn over and tape along the back, so that both sides are attached together.
3. Using a razor blade or xacto knife, cut on the dotted lines on the edges of the flaps, so that they can open.
4. Cut out the figures and squares. You will want to cut the squares inside the dotted lines, so that they fit inside the flaps better.
5. Tape two blank pieces of cardstock together.
6. Using only a small line of glue around the edges of the back of the advent calendar, mount the calendar to the blank cardstock.
7. Trim the blank cardstock so it is the same size as the calendar.
8. Carefully glue numbered squares inside of the matching flaps
9. Print off the PARENT’S GUIDE TO THE CHRISTMAS ADVENT CALENDAR (below). This will include all stories, pictures, and song lyrics necessary to complete each day’s activity.
10. Have fun!
Download the printables here: http://www.scribd.com/doc/188092520/Christmas-Advent-Calendar-for-Kids
Find more fun homemade Christmas ideas in our Z88.3 Homemade Christmas Directory!